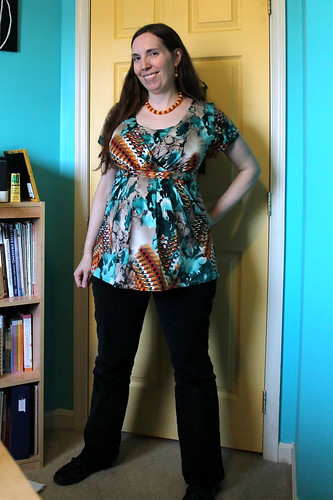
Back during Me Made May, one of my takeaways was that I should stop sewing things that aren’t my favorite colors, because I usually am disappointed with the results. Well, two months later… I completely threw that out of the window for this dress. But for once, I think I like this!

See, I’m really not a pink girl at all. (Though, to be fair, this really looks fairly akin to the berry color of my last Bruyere top up close.) And I feel like orange is iffy on me, though I’ve gotten some surprising compliments when wearing it in the past. But when looking for some fabric for this maxi pattern that I’d just picked up, McCall’s 7350, this ITY that was on clearance at Fabric.com just screamed to me. It seriously helped that the colorway was called “Katniss”. Associations with fandoms that I enjoy never hurt if you want to take my money. And I thought that this pattern had sufficient drama to suit the Girl on Fire, at least in one of her more casual moments out of the arena.
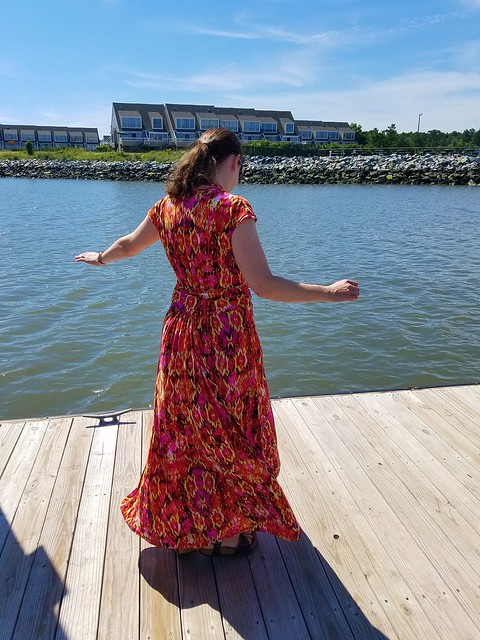
It’s a good thing that this fabric was so inexpensive, because I bought 5 yards of this stuff and used all but maybe half a yard. But I got the whole lot for just under $16, and it doesn’t feel like cheap polyester at all– it has a nice silky feel to it that kept me quite comfortable while wandering around between my side and the New Jersey side of the bay. But it is a fabric hog, at least as the maxi version. It’s hard to tell with the print, but there is a lot of gathering in the back. More than it would have had due to some fitting issues (more on that later), but it does give the skirt a nice swishy fullness. The cut-on cap sleeve worked nicely to keep my shoulders from getting burned while walking around, and while the skirt is a wrap in the front, I didn’t have too much difficulty with keeping the wardrobe malfunctions away– I just had to hold the one edge down every so often. I was pleasantly surprised at how well the ITY sewed on my coverstitch machine, too, after all of the issues I’ve had hemming the same type of fabric on my regular sewing machine. So since I have two more cuts of it in my stash, sewing them up seems much more accessible now.
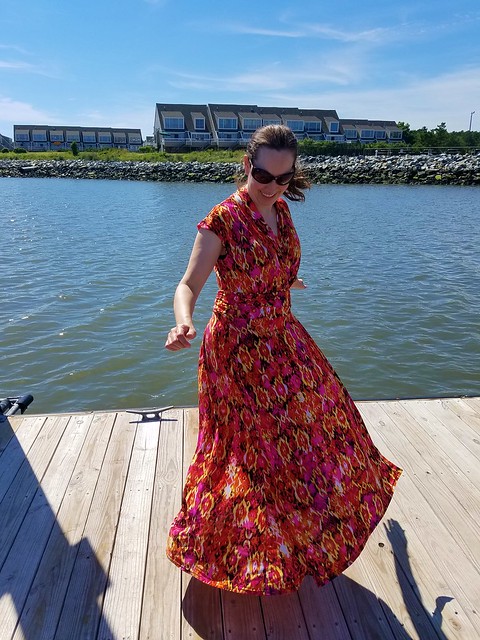
Twirly skirt drama! And now for more of an actual pattern review than I’ve had a chance to give for awhile, as I did end up making several changes. For one, knowing the Big 4 ease issues, I had a really difficult time figuring out what size to even cut out. After much debate and studying of the finished measurements, I decided on a 16 for the bodice and an 18 for the midriff and skirt. But then after trying it on partway through, I ended up taking a full inch out of either side of the midriff and tapering that up into the bodice. (Just like old times, since I always had to take stuff in at the waist pre-kids, so I actually felt good about this!) This meant that the front skirt overlapped more than it called for (which was probably a good thing for wardrobe malfunction avoidance), and the back skirt was more gathered than intended, but I think it worked out well.
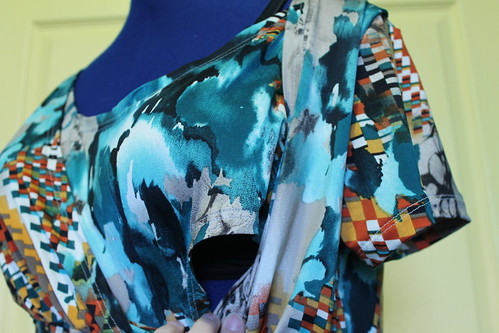
 I also raised the armscye half an inch after reading some reviews that said that it was a little too open under the arm, and this was a good change to make. It’s still a tiny bit low, as you can see from my selfie here, but my bra isn’t showing. It’s probably not quite visible here, but I did also add some additional zig zag stitching on the ruched midsection to help keep that a little more in place. The last time I had a ruched jersey piece on a dress, the weight of the fabric just made it look all weird and saggy around my waist, and who wants that? Part of me wishes that I’d added a line down the middle, since it still has a bit of that droopy cummerbund look, but I am glad that I added it where I did (around the more internal set of notches).

One more selfie, to give a better view of the neckline. I did overlap this more than intended, because I was fairly certain that my bra would have been hanging out as is. At the very end of making this, I also added a hook and eye to keep this more closed. Too bad I didn’t have this last summer, because this view would have been quite nursing friendly! The way the collar was constructed was kind of funky, and I ended up having to hand stitch it in place inside because I could not figure out a better way to do it, but this sort of drapey shawl collar actually turned out pretty nice.
A few quibbles about the pattern, aside from the couple of things I mentioned:
- This was ridiculously long. I am not short (5’7″, so I’m on the slightly taller side of average), and I still had to chop a whole 6″ off of the bottom in order to not have a dramatic train happening. Which would have been cool, but also super-impractical with two little boys running around.
- The aforementioned collar construction, since I’m a little concerned about how my hand sewing will hold up in jersey, despite trying to give it a fairly stretchy stitch.
- I wish there had been some alternate way to add the elastic to the inside waistband mentioned. The instructions they gave to make a casing within the seam allowance, would have worked fine if I’d been constructing this entirely on my regular sewing machine, but since I’ve mentioned that my machine tends to not get along well with ITY, I was using the serger rather heavily. Which meant that I had to just zig zag the elastic to the overlocked seam, and it looks super messy inside and barely keeps the weight of the skirt in place. (I probably could have tightened it more, and may have to go back and fix that in the future, but after ditching a full 2″ from the circumference, I was having to guesstimate with the elastic pinned around where I thought it would land as it was. And the cardinal rule of dressing for anything where a wind instrument will be played is not to cut off your ribs’ ability to expand.
So would I make this again? I’m not sure I would as a dress, as there honestly isn’t a ton of room in my wardrobe for dresses these days. Making this one just felt frivolous and fun, which was a nice change after working on several wardrobe holes in a row. But now that I have the fitting more or less worked out, I could see myself making the shorter version as a tunic top of sorts, because I bet it would look great over some skinny pants or a more fitted short. And if I have learned one thing this summer, it’s that I definitely could use more sleeveless-ish things in my life. It’s been super-hard dressing for all of the humid, 90+ degree days lately!